LifeWave Patches
What is a LifeWave Patch?
LifeWave patches employ phototherapy, a non-transdermal approach, and interact with the body’s own heat emissions, primarily in the form of infrared light. These patches, when affixed to the skin, capture and modulate this natural thermal energy, generating specific wavelengths of light. This interaction stimulates surface skin nerves, setting off a chain reaction of physiological responses, offering various health benefits unique to each patch type. From increased energy and improved sleep to pain relief and anti-aging effects, the patches aim to enhance well-being by optimizing the body’s natural energy. While anecdotal reports suggest positive results, it’s essential to consult healthcare professionals and conduct thorough research before use.
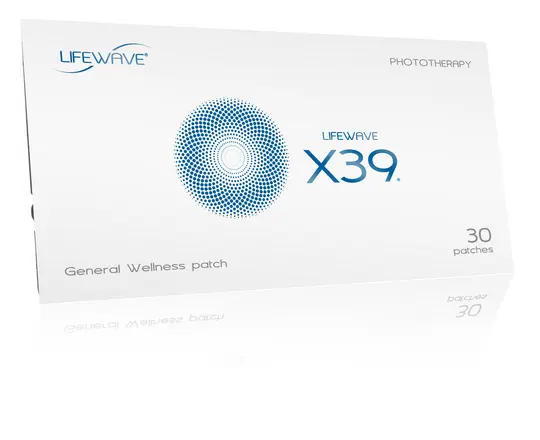
Aging is not inevitable. X39 supports healthy stem cell activity, restoration, and rejuvenation. By naturally elevating a copper peptide produced by the body, X39 boosts vitality and overall health and wellness. Turn back time with X39!
BENEFITS
- Supports healthy stem cell activity
- Supports relief of minor aches and pains
Instruction
Place one LifeWave X39 patch on the body, using one of the locations shown. Apply the patch to clean, dry skin in the morning. Patches may be worn for up to 12 hours before discarding. Keep well hydrated while using this product.
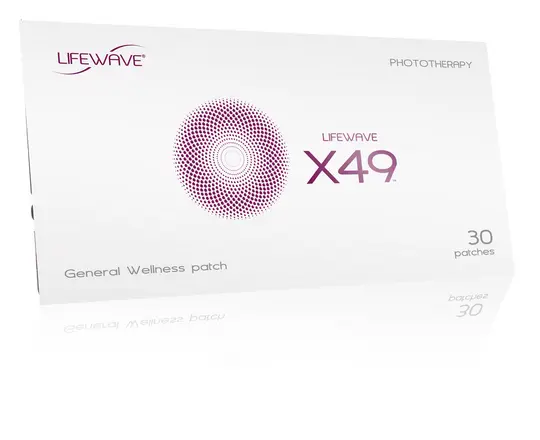
X49 is clinically proven to elevate a natural peptide in the body that promotes performance and recovery. Now is the time to redefine your prime!
BENEFITS
- Promotes performance, strength, and stamina
- Supports a healthy cardiovascular system
- Reduces muscle soreness and promotes faster recovery from exercise
- Supports fat loss when used in tandem with a healthy diet and exercise program
Instruction
Place one LifeWave X49 patch on the body, using one of the locations shown. Apply the patch to clean, dry skin in the morning. Patches may be worn for up to 12 hours before discarding. Keep well hydrated while using this product.
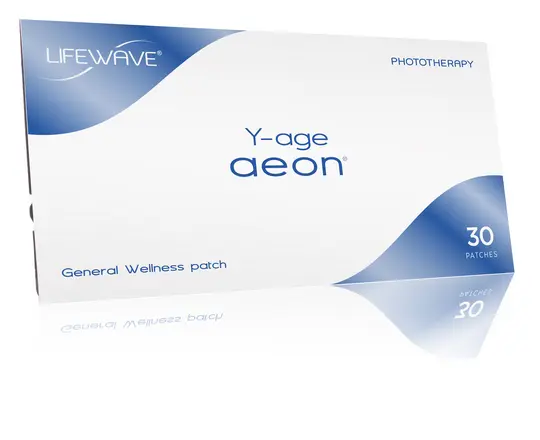
Y-Age Aeon promotes relaxation, calms discomfort, and eases tension while supporting a healthy inflammatory response in your body. Unwind and rebalance for that peaceful, at-ease feeling.
BENEFITS
- Promotes relaxation
- Reduces stress in the body
Instruction
Rotate through the point locations shown, using an Aeon patch 5 to 7 days per week.
If combining with either Y-Age Carnosine or Y-Age Glutathione, use any 2 patches on any 2 of the Y-Age point locations shown, applying the patches on either the midline or right side of the body. Apply the patch to clean, dry skin in the morning. Patches may be worn for up to 12 hours before discarding. Keep well hydrated while using this product.
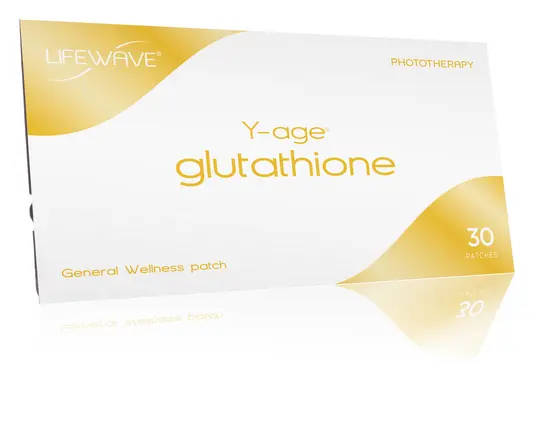
Y-Age Glutathione goes to work for you by naturally elevating production of glutathione, which is your body’s master antioxidant. This fortifies immune function and fights off damaging oxidative stress – boosting your body’s primary defense.
BENEFITS
- Supports a healthy immune system, which supports overall health
- Improves skin’s appearance
- Improves cellular functioning in some organs
Instruction
Rotate through the shown point locations, using a Glutathione patch 5 to 7 days per week.
If combining with either Y-Age Aeon or Y-Age Carnosine, use any 2 patches on any 2 of the Y-Age point locations shown, applying the patches on either the midline or right side of the body.
Apply the patch to clean, dry skin in the morning. Patches may be worn for up to 12 hours before discarding. Keep well hydrated while using this product.
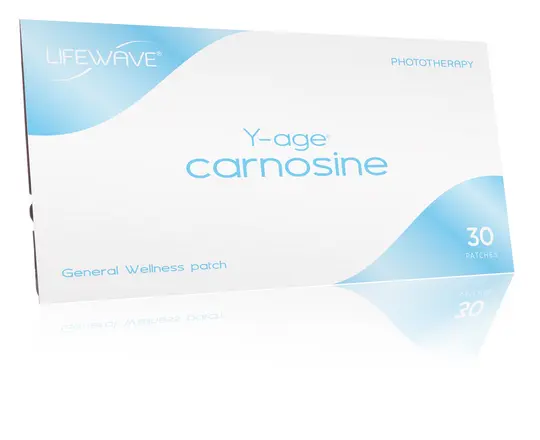
Movement keeps us youthful. Y-Age Carnosine elevates the production of carnosine, a naturally occurring amino acid with antioxidant properties. It supports mobility, flexibility, strength, and balance so you’re not just keeping up—you’re leading the way.
BENEFITS
- Improves strength and flexibility
- Improves overall health
- Improves bioelectrical properties of organs
Instruction
Rotate through the shown point locations, using a Carnosine patch 1 to 3 days per week.
If combining with either Y-Age Aeon or Y-Age Glutathione, use any 2 patches on any 2 of the Y-Age point locations shown, applying the patches on either the midline or right side of the body.
Apply the patch to clean, dry skin in the morning. Patches may be worn for up to 12 hours before discarding. Keep well hydrated while using this product.
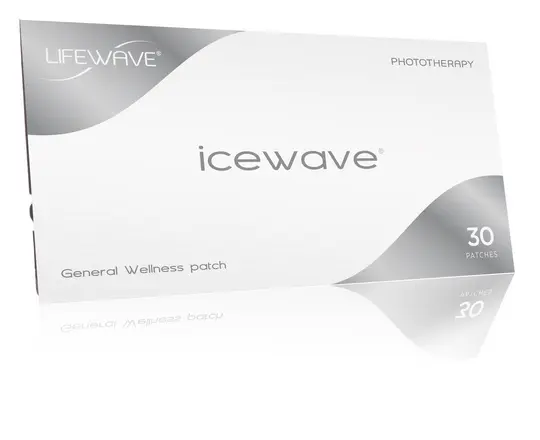
IceWave is specifically designed to provide relief at the source of aches, pains, and discomfort without drugs, stimulants, or chemicals — so you can get back in the game.
BENEFITS
- Supports relief of minor aches and pains, without addictive properties
- Improves range of motion
- Provides fast relief
Instruction
Place one white and one tan patch on the body, using any two locations shown at a time. Apply the patches to clean, dry, undamaged skin.
If the pain is not reduced in 10 seconds, move to the next location to relieve pain in that area. This can be used on any area of the body. Patches may be worn for up to 12 hours before discarding. Keep well hydrated while using this product. Only remove half of the patch backing until an effective placement site is located.
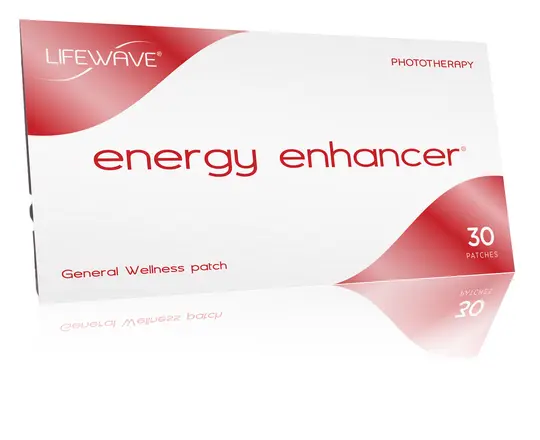
Energy Enhancer stimulates energy production at the cellular level so you can rely on natural, reusable energy instead of cheap substitutes to fuel your passion for life.
BENEFITS
- Increases energy and endurance
- Supports a healthy physical fitness routine
- Stimulates cellular energy production
Instruction
Place one set of Energy Enhancer patches on the body, using one of the locations shown. Always place the WHITE patch on the RIGHT side of the body, and the TAN patch on the LEFT side of the body. Apply the patch to clean, dry skin in the morning. Patches may be worn for up to 12 hours before discarding. Keep well hydrated while using this product.
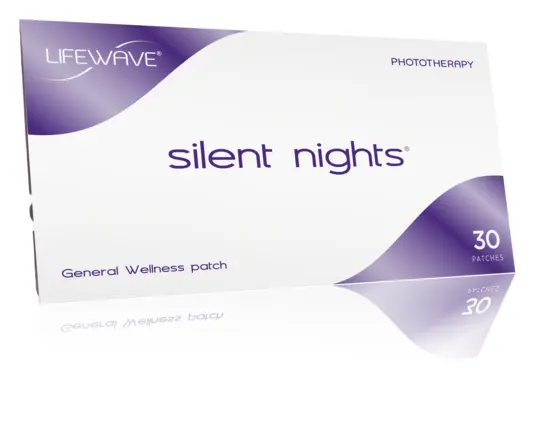
Silent Nights elevates melatonin naturally so your body can peacefully dive deeply into the various restorative levels of sleep and awaken feeling refreshed — because every great day starts the night before.
BENEFITS
- Enhances quality of sleep
- Improves length of sleep
- Improves natural melatonin production
Instruction
Place one Silent Nights patch on the body using one of the locations shown. Apply the patch to clean, dry skin in the evening. Patches maybe worn for up to 12 hours before discarding. Keep well hydrated while using this product.
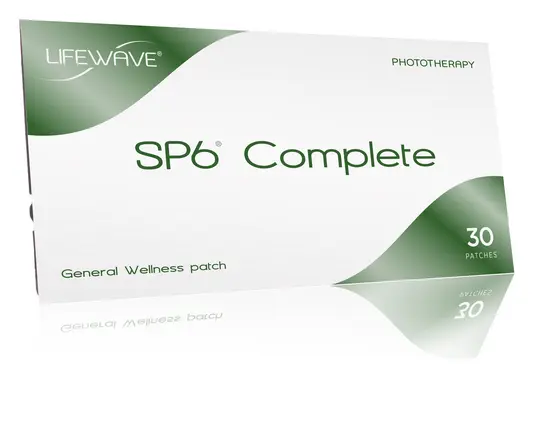
SP6 Complete maximizes your healthy diet and exercise efforts to support your body’s natural metabolic response. Reduced cravings, less hunger, and more control equals greater results.
BENEFITS
- Helps to reduce cravings
- Helps reduce appetite
Instruction
Place one SP6 Complete patch on any of the recommended locations shown. For optimal results, rotate the patch between the placements that provide you the most control of your appetite.
Apply the patch to clean, dry skin in the morning. Patches may be worn for up to 12 hours before discarding. Keep well hydrated while using this product.
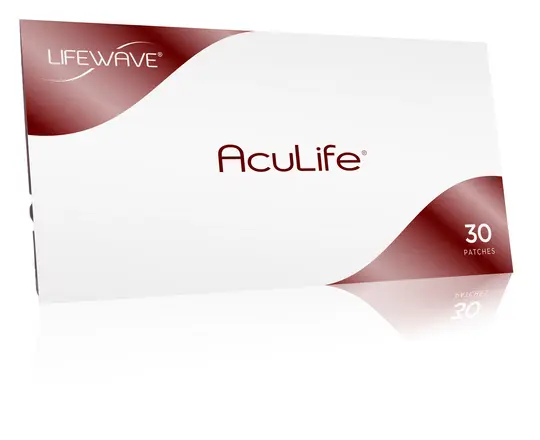
Living well isn’t only for people. AcuLife uses the same LifeWave innovations to support a healthy inflammatory response and promote relief from minor aches and pains in horses.
BENEFITS
- Promotes pain relief
- Reduces inflammation
- Reduces soreness
Instruction
Locate the area on your horse that you wish to patch, where they appear to be having the most pain.
Remove a plastic bead from the bag. Then, remove the adhesive backing of a TAN patch and place the plastic bead in the center of the adhesive side of the TAN patch.
Place the TAN patch with bead on the location you desire on the LEFT side of the horse. Then, press down firmly on the patch to ensure it is secure to the horse.
Repeat steps 2-3 with the WHITE patch, placing the patch and bead on the RIGHT side of the horse.